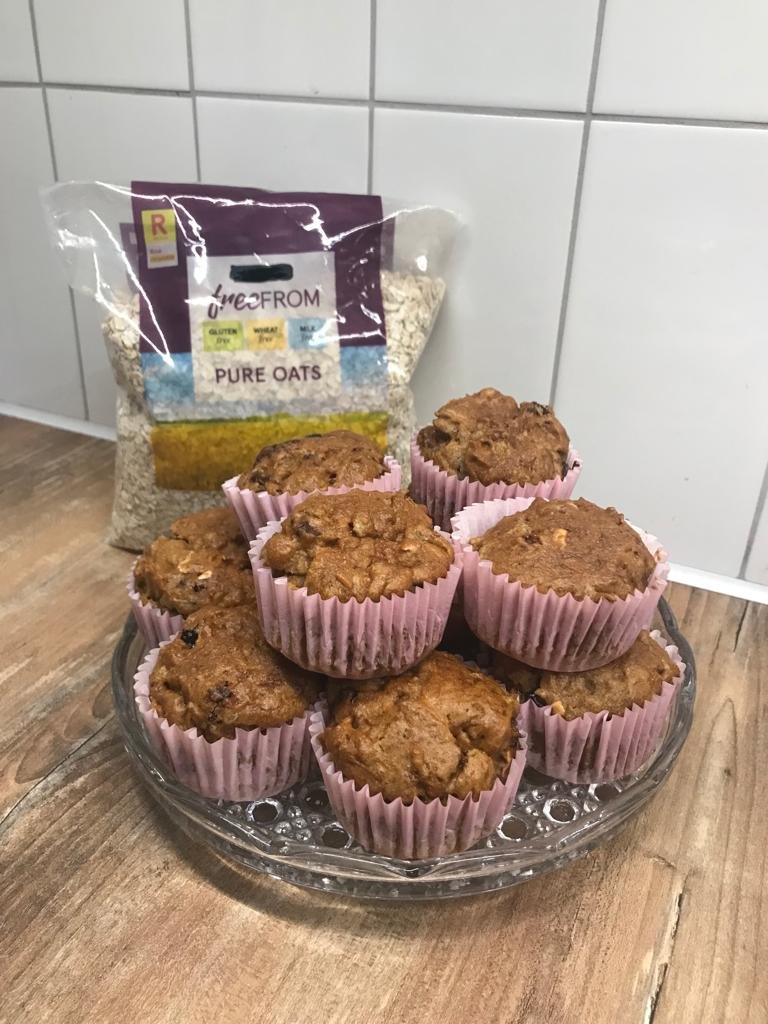
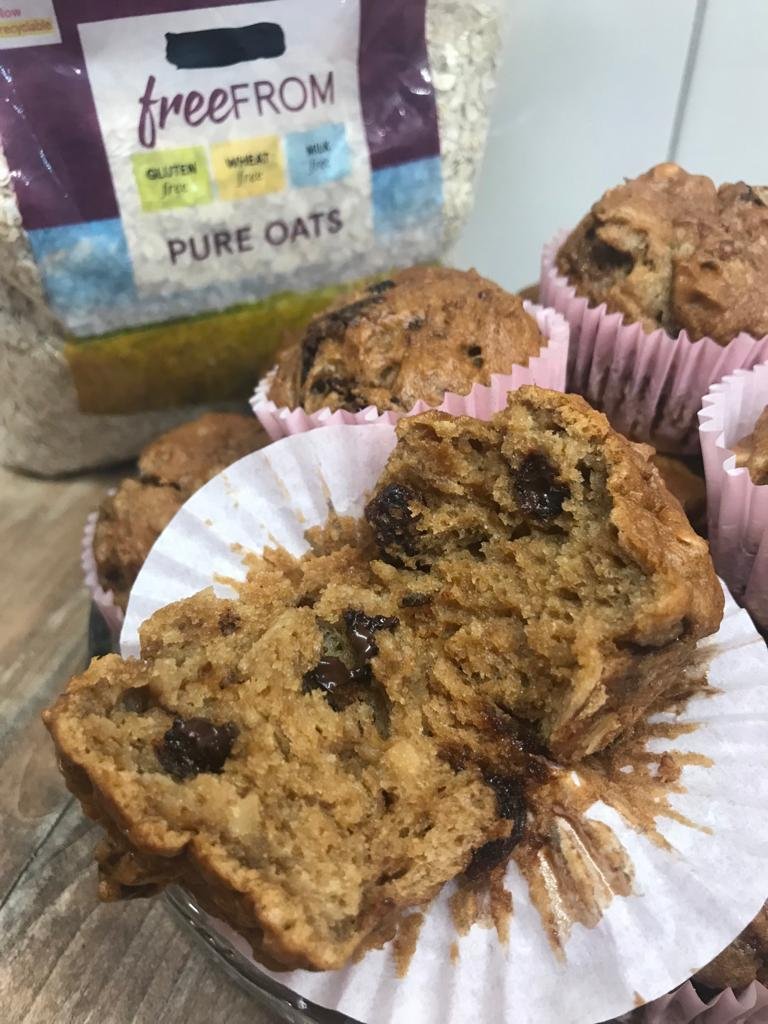
my most made recipe of 2023!
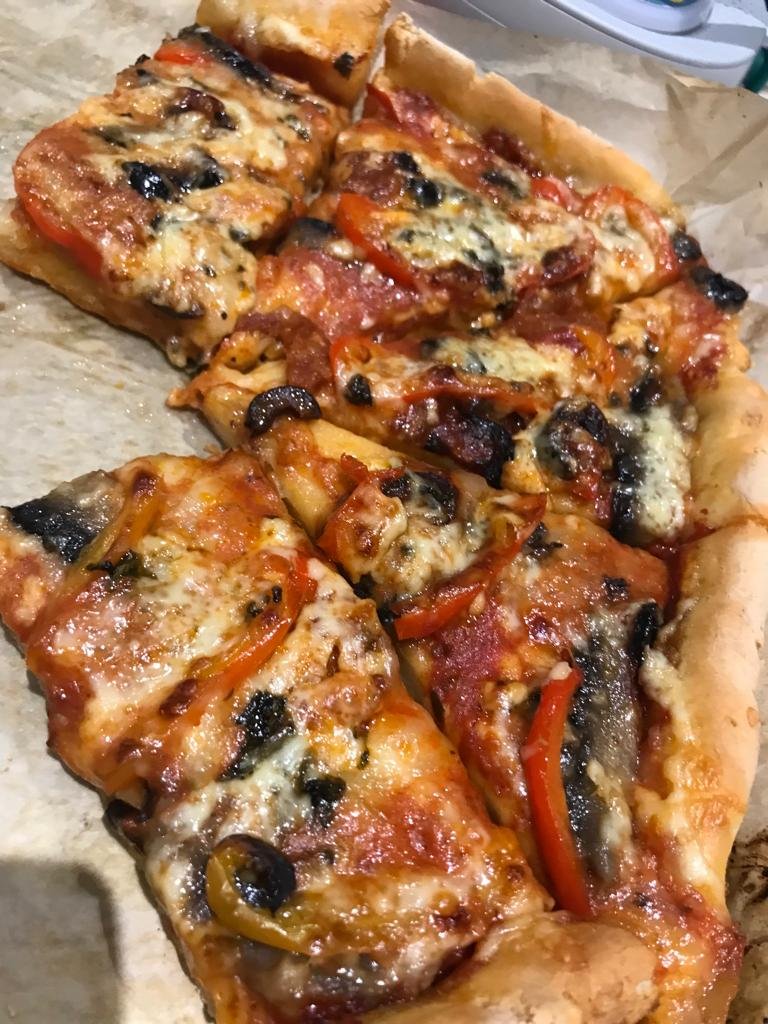
The most loved but disappointing takeaway choice for us has always been pizza! Gluten-free eating has been part of our lives for many years but we used to indulge occasionally to always regrate it after. Two years ago I set out to make pizza so good that nobody would believe that is gluten-free! And that is how it became my most-made recipe of 2023 and have requests to make it almost weekly hihi #mumwins
I have shared it with a few of you on Instagram but thought was time to share it with all of you so that you can join me on a Friday night family tradition when nobody misses out. AND is an amazing budget win too even if made with great quality ingredients, however, I hope you will use it with your garden harvests too, like I do!
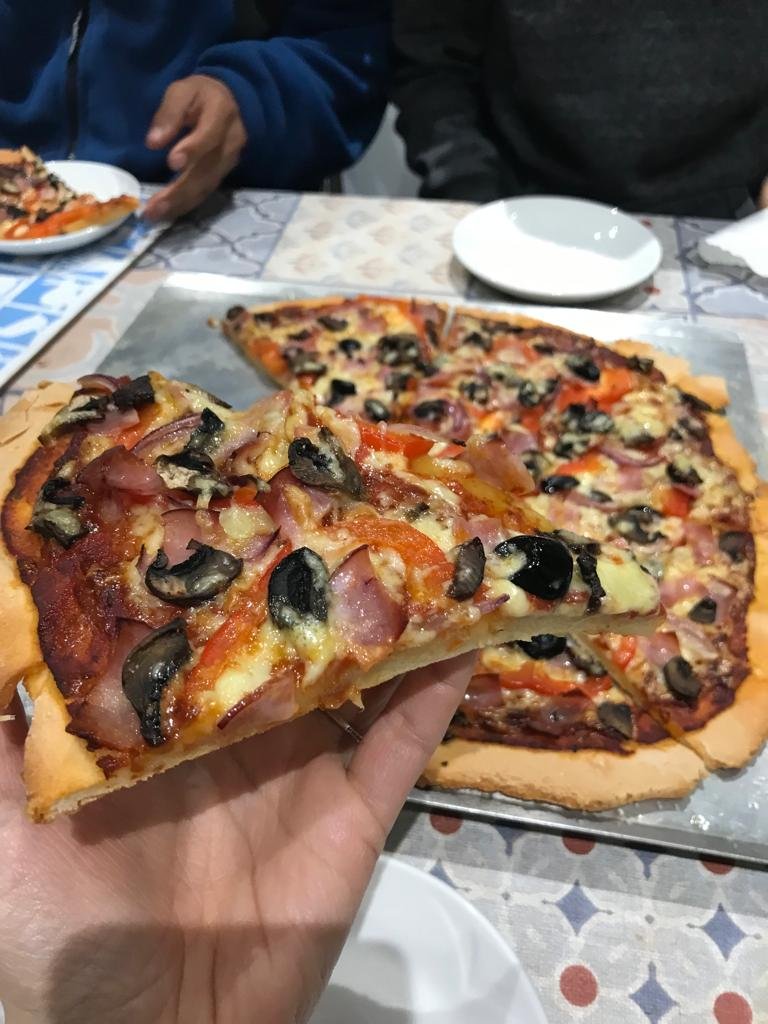
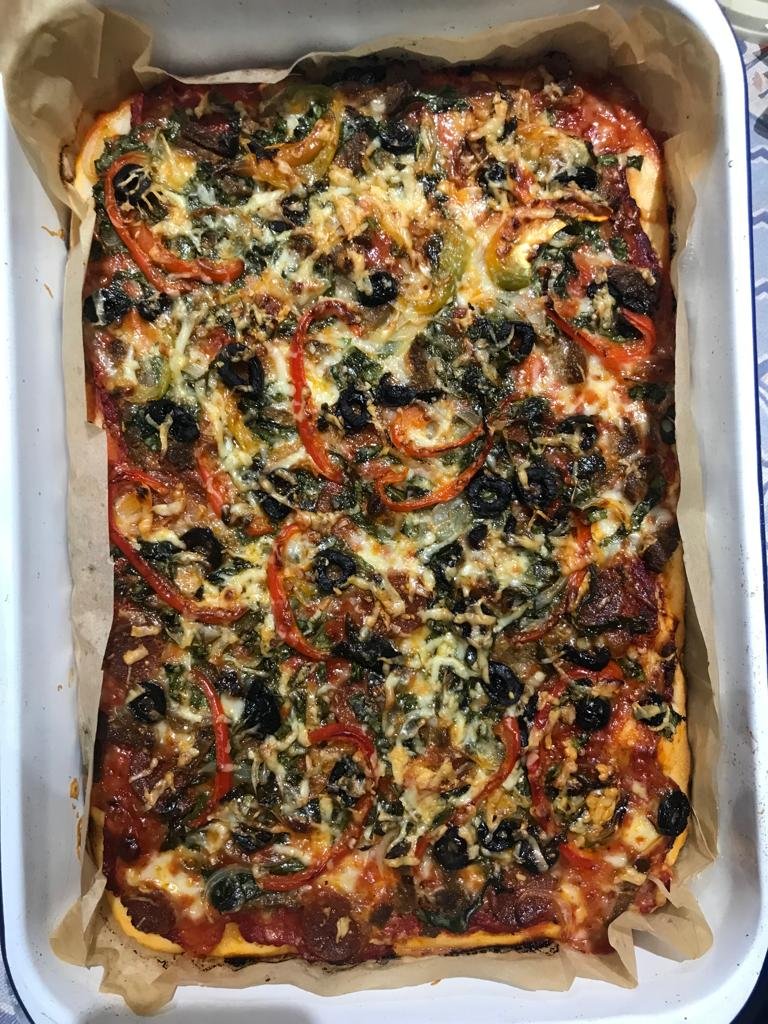
Gluten-free & easy deep pan family pizza
Delicious and crazy easy to make with just two ingredients dough AND whatever toppings you love or have! Nothing compares with a great homemade pizza!
Ingredients
Pizza Dough
- 500g plus 5-6Tablespoons self-rising gluten-free flour plus extra for kneading.
- 500g container Greek or full-fat plain yogurt (Fage is our favourite)
- 1 tsp fine sea salt.
Pizza Toppings
- ½ tube tomato paste, 1tsp dried oregano, and 1 Tablespoon water to help mix into a sauce.
- 2 balls mozzarella cheese (125g each when drained) well-drained, pat dried then sliced.
- Toppings – this is what I use: a handful of any cooked meat I have and/or 5-6 sliced chestnut mushrooms, 5-6 sliced dry & salted olives, ½ of a sliced bell pepper or ½ medium sliced onion (or half/half), a handful of spinach or homegrown swiss chard. Choose which you want or whatever you have available! more ideas in notes.
- 200g mild cheddar cheese grated
- Some fresh or dry basil.
Just make sure the toppings are all patted dry very well including the mozzarella cheese, so the pizza not become too soggy, the mozzarella when melts will release some liquid but will be fine.)
Instructions
- Preheat the oven to 230C (450F ).
- Cut a piece of parchment paper big enough to use for your oven tray. Mine is 36cm long by 25cm wide internal dimensions.
- In a large mixing bowl, combine the flour, salt, and yogurt until it comes together and forms a ball.
- Place the dough ball on the floured clean surface and knead for 3 minutes until smooth.
- Transfer to the floured parchment paper and use your hands or a rolling pin to press the dough into a rectangular pizza crust. Transfer the crust together with the parchment paper to your pan. the dough will rise slightly on the sides this helps to keep the toppings and sauce contained and the bottom dry and toasted.
- Spread the pizza sauce onto the pizza, leaving ½ to 1 inch of crust around the edge of the pizza. Add the sliced mozzarella cheese then add toppings of choice in the order above and at the end sprinkle the grated cheddar cheese and the basil. See the sequence below:
- Bake the pizza at 230C (450F) in the middle rack for about 10 minutes then increase the temperature to 240C (460F) and bake for another 10 minutes until the cheese is melted / golden and the crust is beginning to brown.
- Cut the pizza into 12 triangular slices and serve warm. (or 6 big ones)
Notes
You can roll it straight on the baking sheet and bake it for a thinner type or roll it on parchment paper and transfer it to bake it in a pan, my family prefers the pan with a thicker dough.
You can use any toppings you have in the fridge at the end of the week, in the garden, or as you choose! For the last one I made I used canned salmon, green pepper and the green parts of pak choi, there are no limits!
Don’t forget to tag me on IG @barraldia, if you give it a go, I would love to see your creations.